DIY Oil Change

Caleb Ryan
| 26-01-2026
Hello Lykkers! If you drive a car, one of the most important maintenance tasks you can perform is a regular oil change. Engine oil keeps your engine running smoothly by lubricating its parts, regulating temperature, and preventing damage.
Skipping regular oil changes can lead to costly repairs or potentially total engine failure. While many drivers rely on service centers, changing your car’s oil yourself is simpler than you might think—and it can save you time and money.
In this guide, we’ll walk you through the step-by-step process, tools needed, and tips for keeping your engine in top shape.
Why Oil Changes Matter
Engine oil serves several critical functions:
Lubrication: Reduces friction between moving parts.
Cooling: Absorbs and dissipates heat from the engine.
Cleaning: Carries away dirt, debris, and metal particles.
Protection: Prevents corrosion and engine damage.
Most manufacturers recommend changing oil every 5,000 to 10,000 kilometers (or 3,000–5,000 miles), depending on the vehicle, driving conditions, and oil type. Always check your owner’s manual for guidance.
Tools and Materials Needed
Before starting, gather the following:
- New engine oil (check your car’s manual for type and quantity)
- New oil filter
- Oil filter wrench
- Socket wrench or spanner
- Oil drain pan
- Funnel
- Gloves and rags
- Car jack and jack stands (or ramps)
Step 1: Prepare Your Car
- Park on a level surface and turn off the engine.
- Allow the engine to cool slightly if it’s hot—oil drains best when warm, but not scalding.
- Secure the car with a parking brake and wheel chocks for safety.
Step 2: Drain Old Oil
- Locate the oil drain plug under the engine.
- Place the oil drain pan directly underneath.
- Use a socket wrench to loosen the drain plug carefully.
- Allow the oil to fully drain into the pan—this may take a few minutes.
- Inspect the old oil for unusual color or metal shavings, which could indicate engine issues.
- Reinstall the drain plug and tighten it securely, but avoid over-tightening.
Step 3: Replace the Oil Filter
- Locate the oil filter (check the owner’s manual if needed).
- Use the oil filter wrench to remove it. Some oil will spill, so keep your pan underneath.
- Apply a thin layer of new oil to the gasket of the new filter to ensure a proper seal.
- Install the new filter into place by hand, then tighten slightly—do not over-tighten.
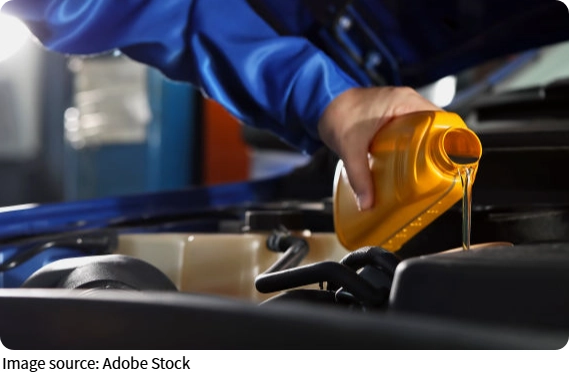
Step 4: Add New Oil
- Open the oil filler cap on top of the engine.
- Insert a funnel and carefully pour in the manufacturer-recommended amount of new engine oil.
- Replace the cap securely.
Step 5: Check Oil Levels
- Start the engine and let it run for a minute.
- Shut off the engine and allow a few minutes for the oil to settle.
- Insert the dipstick to check the oil level. Top up if needed, but be careful not to overfill.
Step 6: Clean Up and Dispose of Old Oil
- Pour the old oil into a sealed container.
- Take it to a recycling center or auto shop—never pour it down drains.
- Clean up spills and remove tools from under the car.
Tips for Lykkers
- Always use the oil type and grade recommended by your car manufacturer.
- Maintain a log of all oil changes to monitor your vehicle’s upkeep and ensure timely maintenance.
- Inspect for leaks after driving for a short distance.
- Consider synthetic oil for longer intervals and better engine protection.

Final Thoughts
Changing your oil regularly is one of the simplest and most effective ways to extend your car’s life and ensure optimal engine performance. While professional service centers are convenient, performing an oil change yourself is rewarding, cost-effective, and a great way to understand your vehicle better.
Lykkers, by following this step-by-step guide, you can keep your engine healthy, save money, and gain confidence in basic car maintenance. Remember, clean oil equals a happy engine!